2026-09-05 · Product Knowledge
Magnetostrictive Displacement Sensor Connectors: DIN 43650, D60, D70, M12 by Output
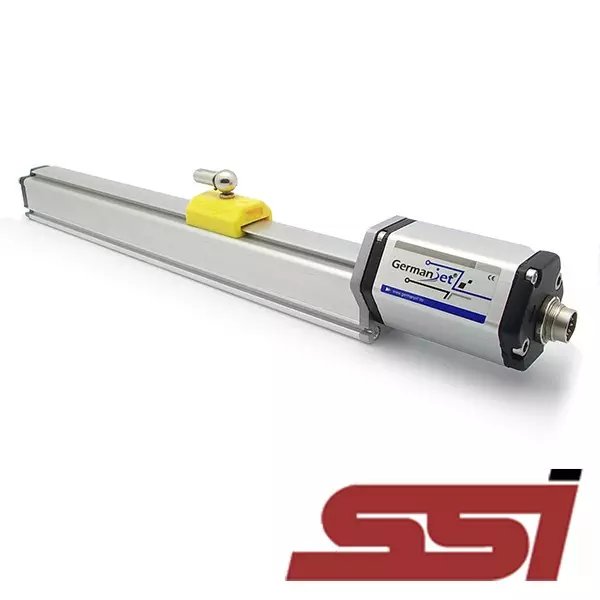
Pick the connector by output. Series 12 is DIN 43650, SSI 162/192 the 7-pin D70, analogue and CANopen the 6-pin D60, EtherCAT an M12.

Germanjet news, technical articles and resources
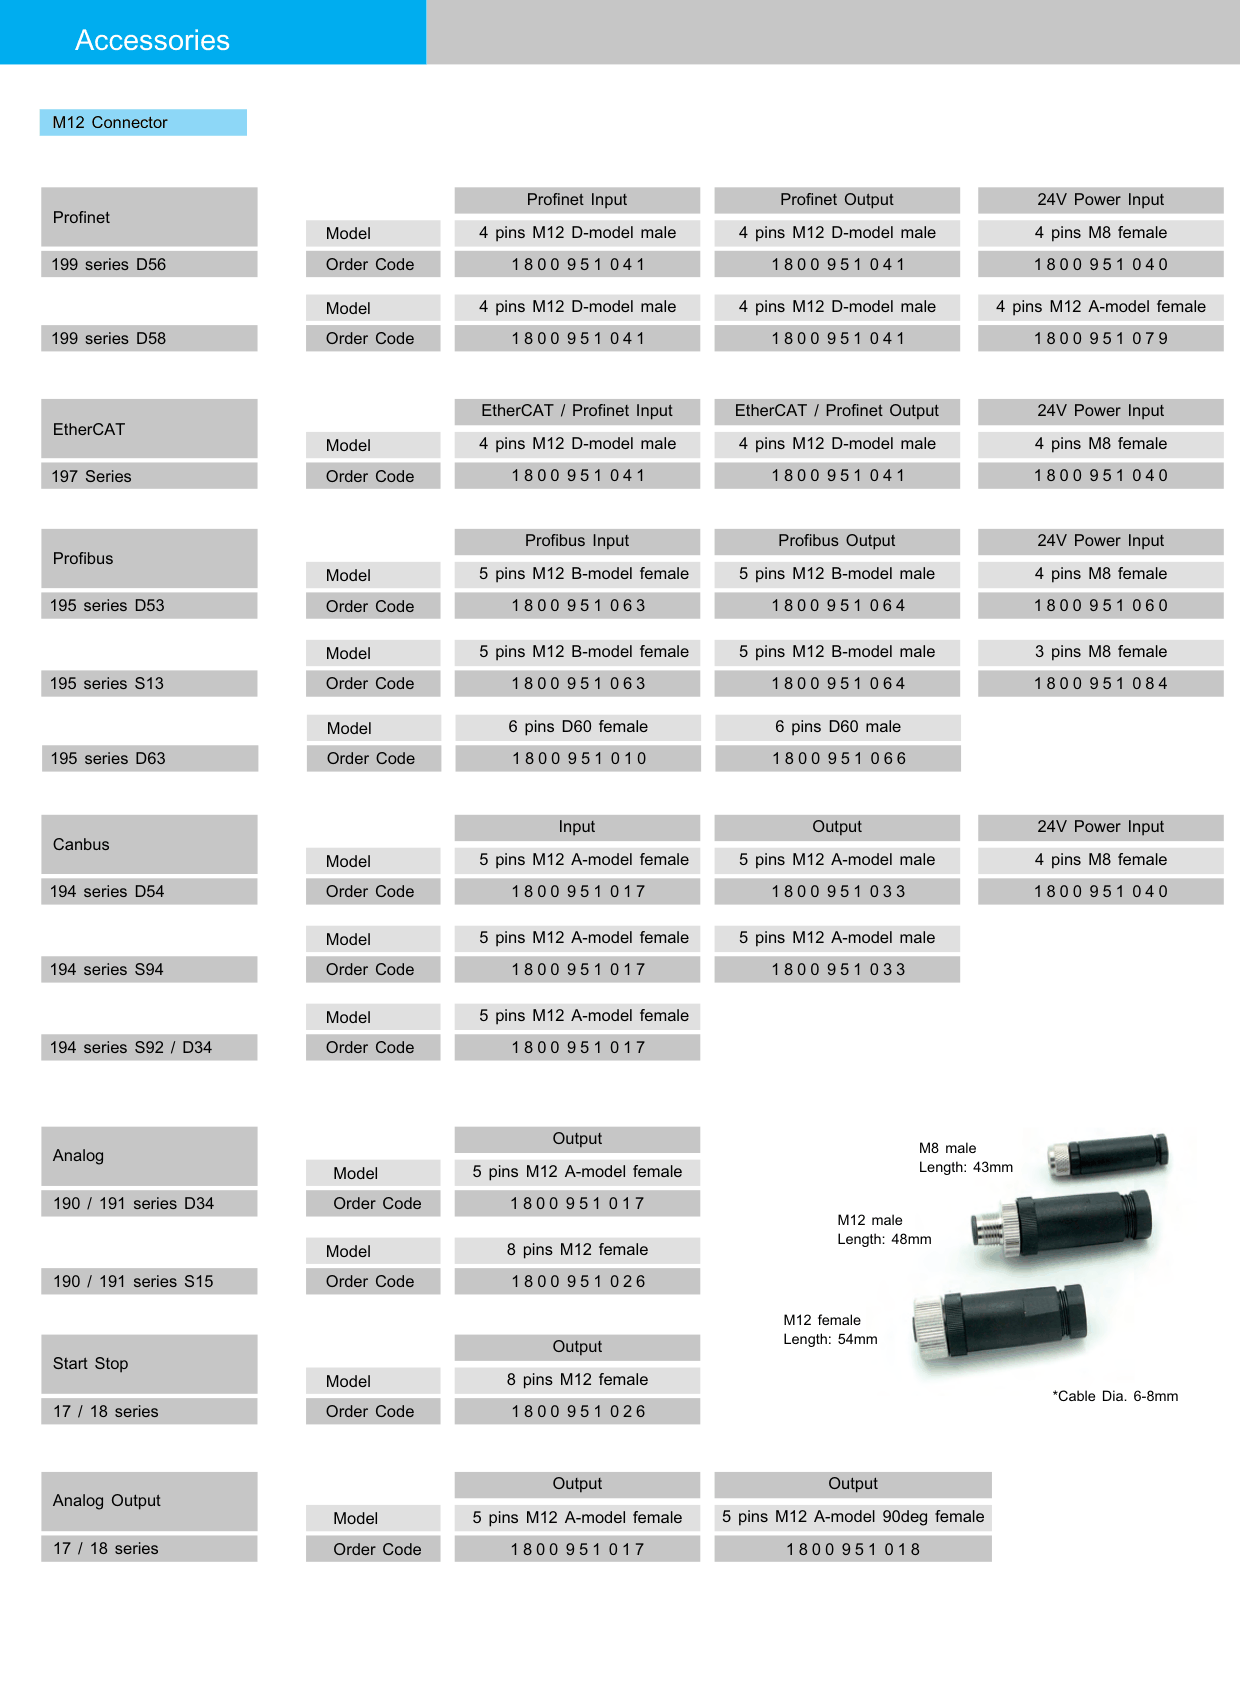
Pick the connector by output. Series 12 is DIN 43650, SSI 162/192 the 7-pin D70, analogue and CANopen the 6-pin D60, EtherCAT an M12.
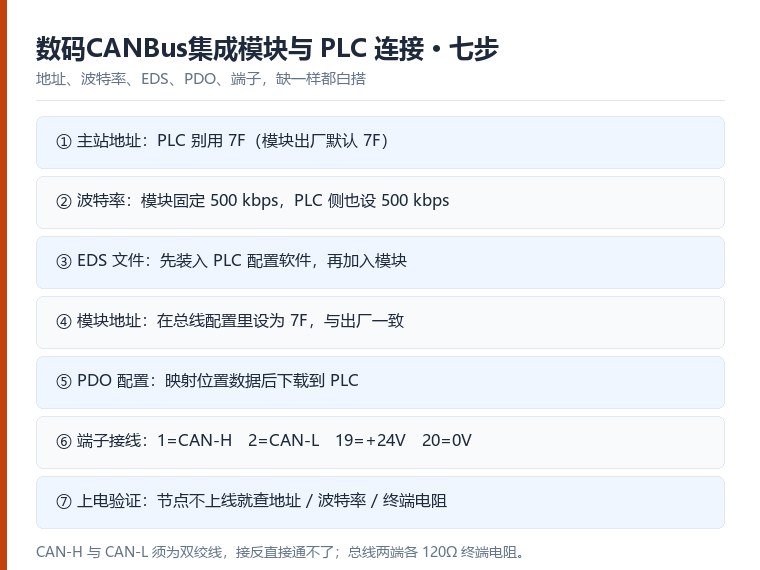
Seven steps to connect a digital CANbus integration module to a PLC: keep the PLC master address away from 7F (the module default), set both sides to 500 kbps, install the EDS file and add the module, set the module address to 7F, map and download the PDO configuration, wire terminals 1 = CAN-H, 2 = CAN-L, 19 = +24 V dc, 20 = 0 V dc, then power up and verify. PLC settings differ slightly between manufacturers.
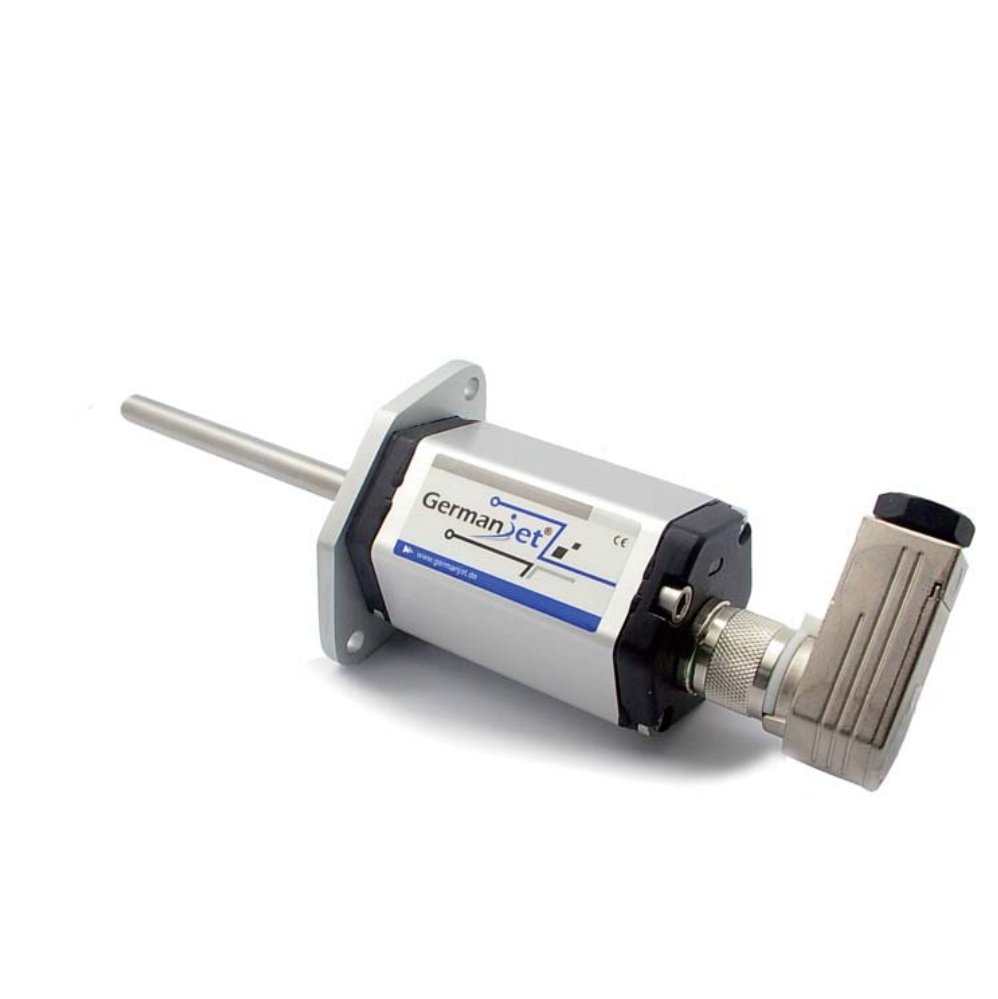
Before the PLC, decode the output code: Series 16 = 160/161/162, Series 18 = 180–185, Series 19 = 190–199. Watch for 162, Series 16 SSI, never 192.

Full digitalisation is standard on Japanese and European injection moulding machines, yet one CANbus card carries at most two electronic rulers, so seven rulers need four cards and a 14 ms scan. The Germanjet digital CANbus integration module puts seven pulse-type digital rulers on one CANbus node: the KEBA computer occupies a single node, the scan drops to 2 ms, the module costs roughly the same as four cards, and the KEBA computer stays in place with only the ruler addresses changed in the program.
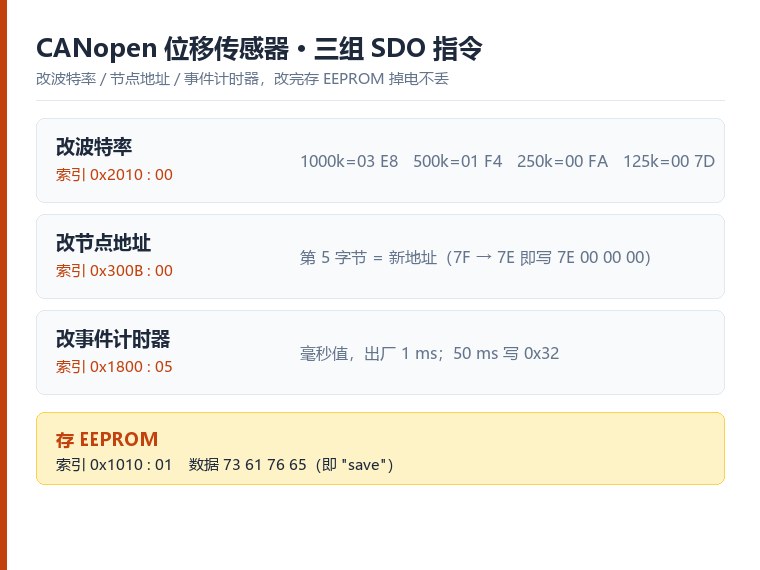
Change a CANopen displacement sensor's baud rate, node ID and CAN event timer over SDO, then save to EEPROM: baud rate is object 0x2010, node ID is 0x300B with the new value in byte 5, event timer is 0x1800 sub-index 0x05, and 0x1010 saves the lot. SDO requests use cob-id 0x600 + node ID. Not sure of the current address? Read the EMCY cob-id and subtract 0x80.

A CANopen displacement sensor messaging guide: on power-up the sensor sends EMCY (0xFF, default node 0x7F), the controller sends a node-start frame (0x000, 01 00) and the sensor replies with PDO data. A single magnet uses PDO1 at 0x1FF; dual magnets add PDO2 at 0x2FF. Every frame is 7 bytes: 4 bytes of position, 2 bytes of speed and 1 reserved byte, LSB first. Synchronous mode is driven by SYNC; asynchronous mode transmits on its own timer.
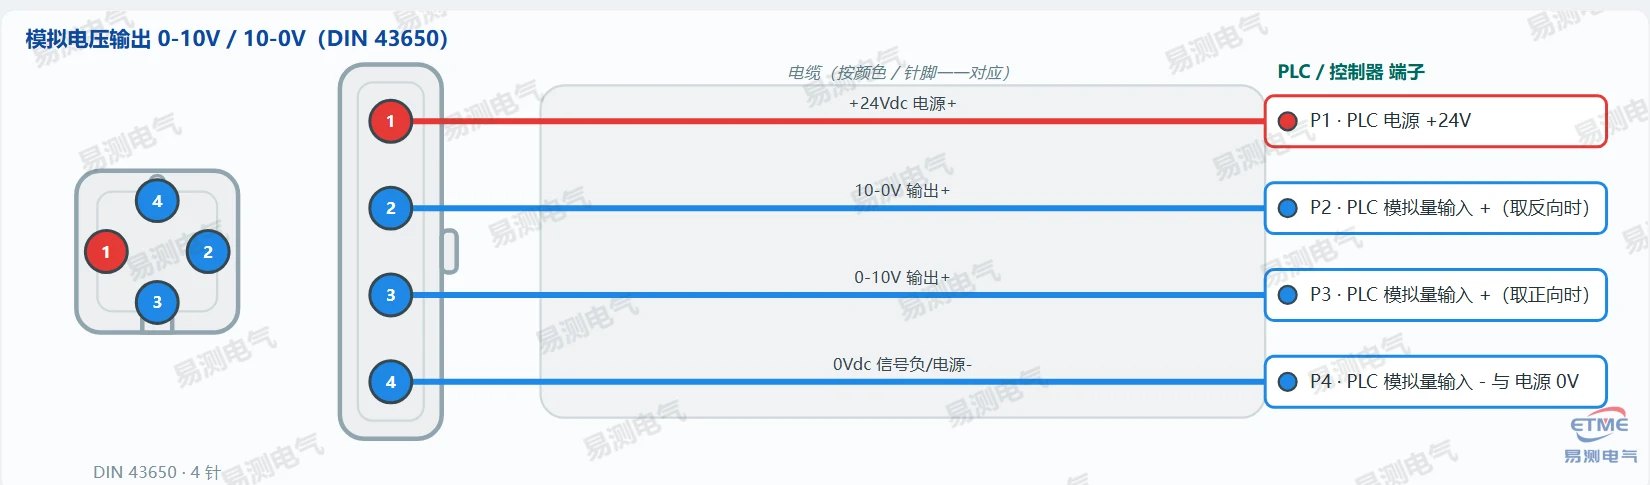
Twenty wiring diagrams for magnetostrictive displacement sensors: Series 12 / 13 / 16 / 17 / 18 / 19 and the 7-pin D70 plug, covering analogue voltage and current (four-wire), Start/Stop, SSI, CANopen, Profibus-DP, EtherCAT and PROFINET. Pins are labelled P1–P7 with NC positions and cable colours, plus six wiring rules and a quick-reference table. Miswiring destroys the sensor.
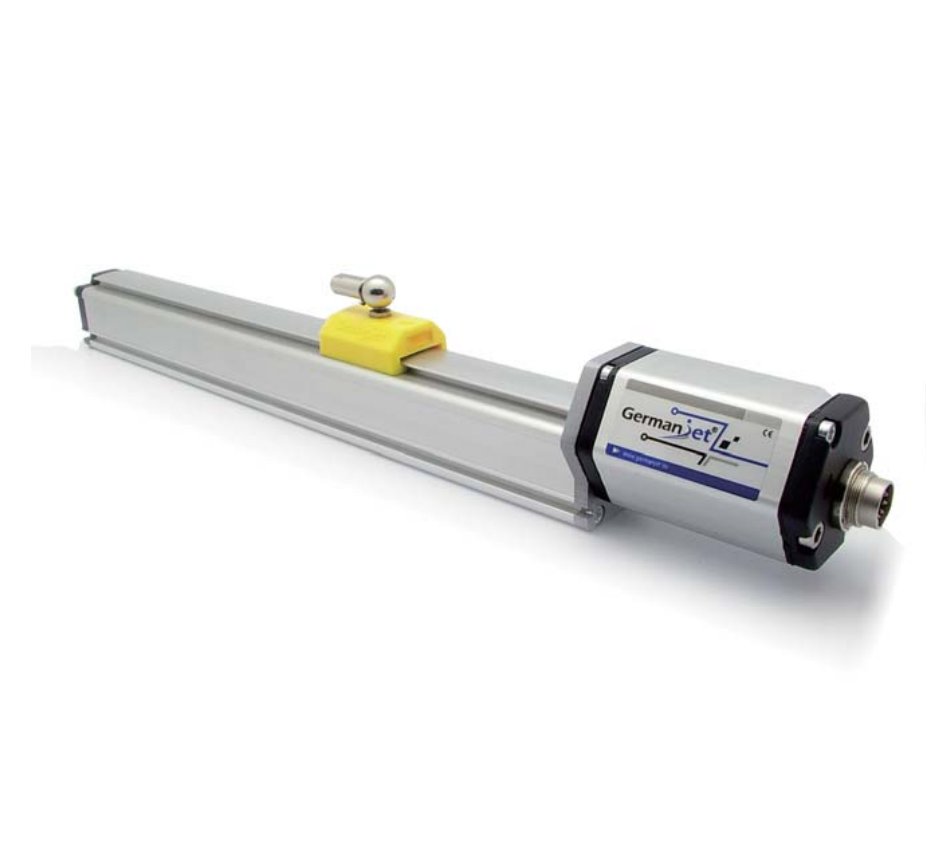
Magnetostrictive versus draw-wire sensors: non-contact at 1 μm against a cheap cable. In a 350-600 bar cylinder magnetostrictive wins.
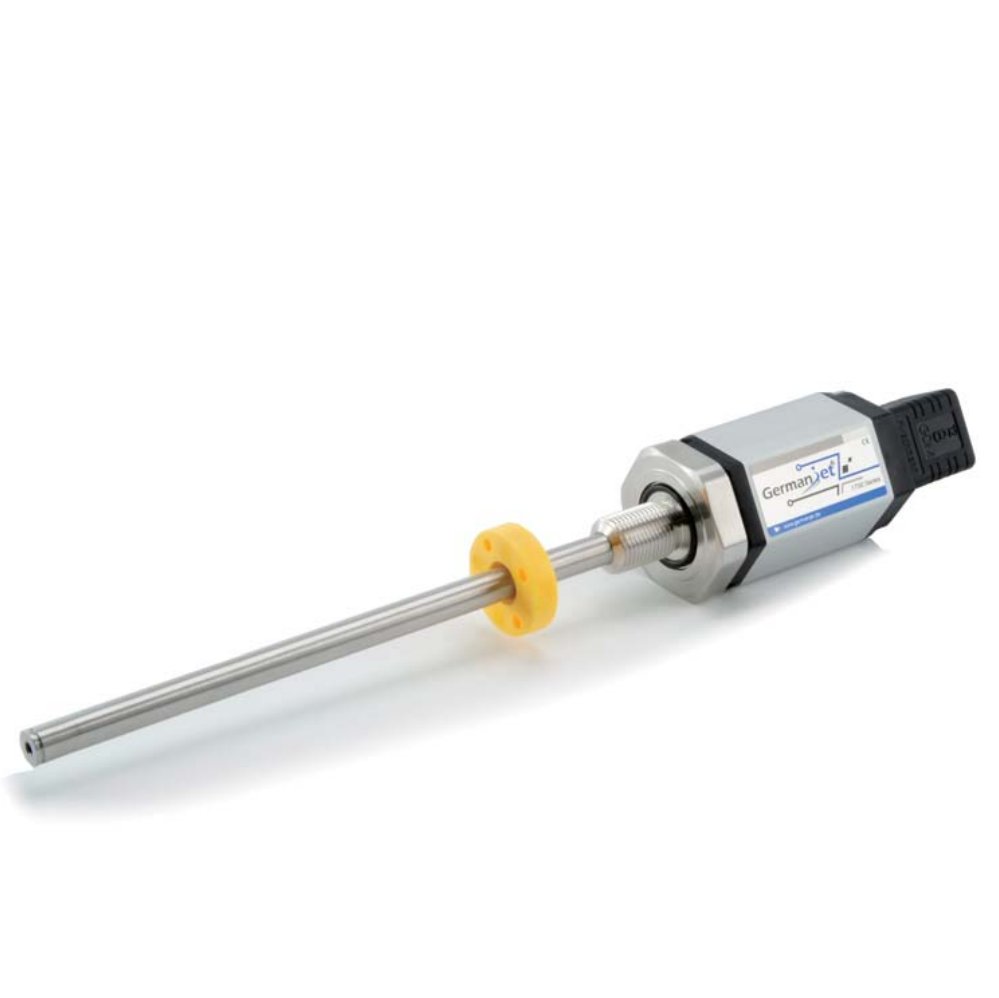
How many rods per press? A standard injection molding machine runs three loops—shot, clamp, ejector—while a closed-loop build climbs to four or six.
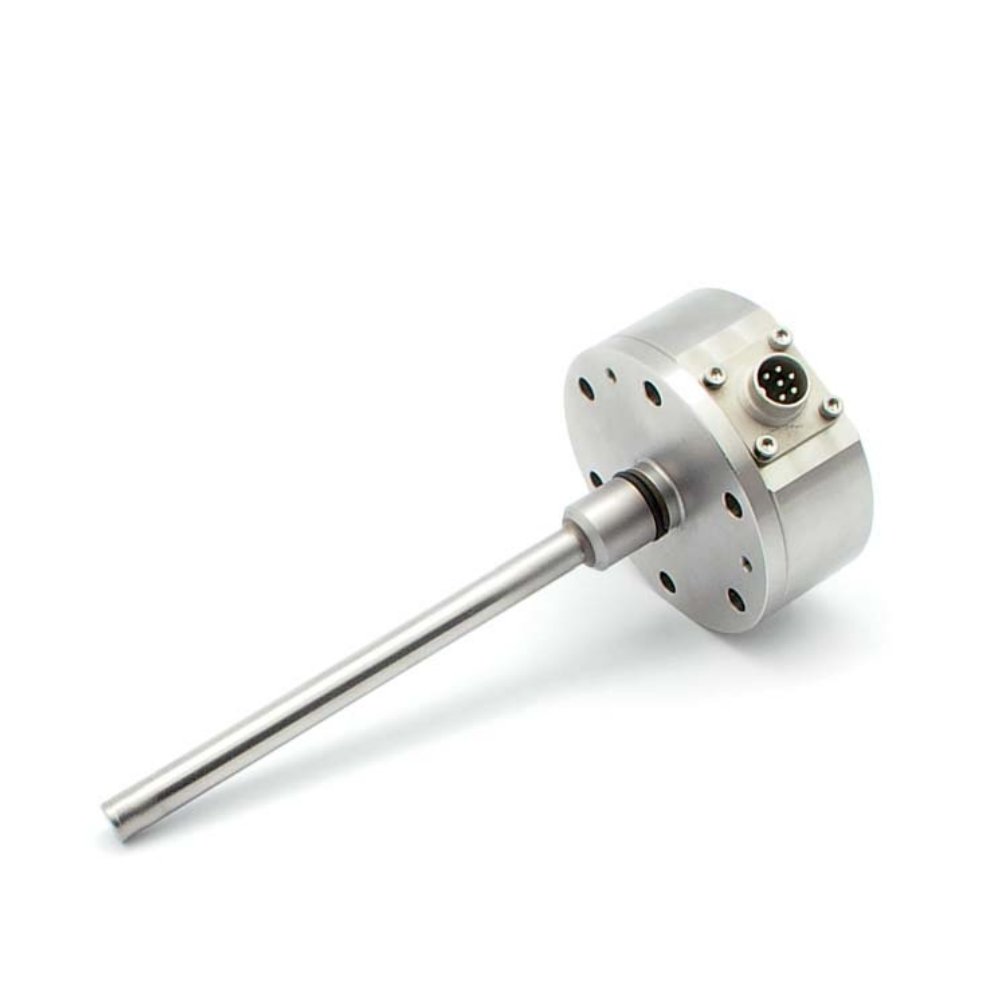
When the last digit of a position reading keeps flickering, do not change the sensor yet. Fast jitter of one or two steps is the normal result of quantisation plus the noise floor; a slow drift over minutes is temperature; a sudden jump of tens of millimetres is interference or a connection problem. Averaging, a first-order low-pass and a dead band can all calm the display, each with its own penalty in lag, phase or lost small movements.
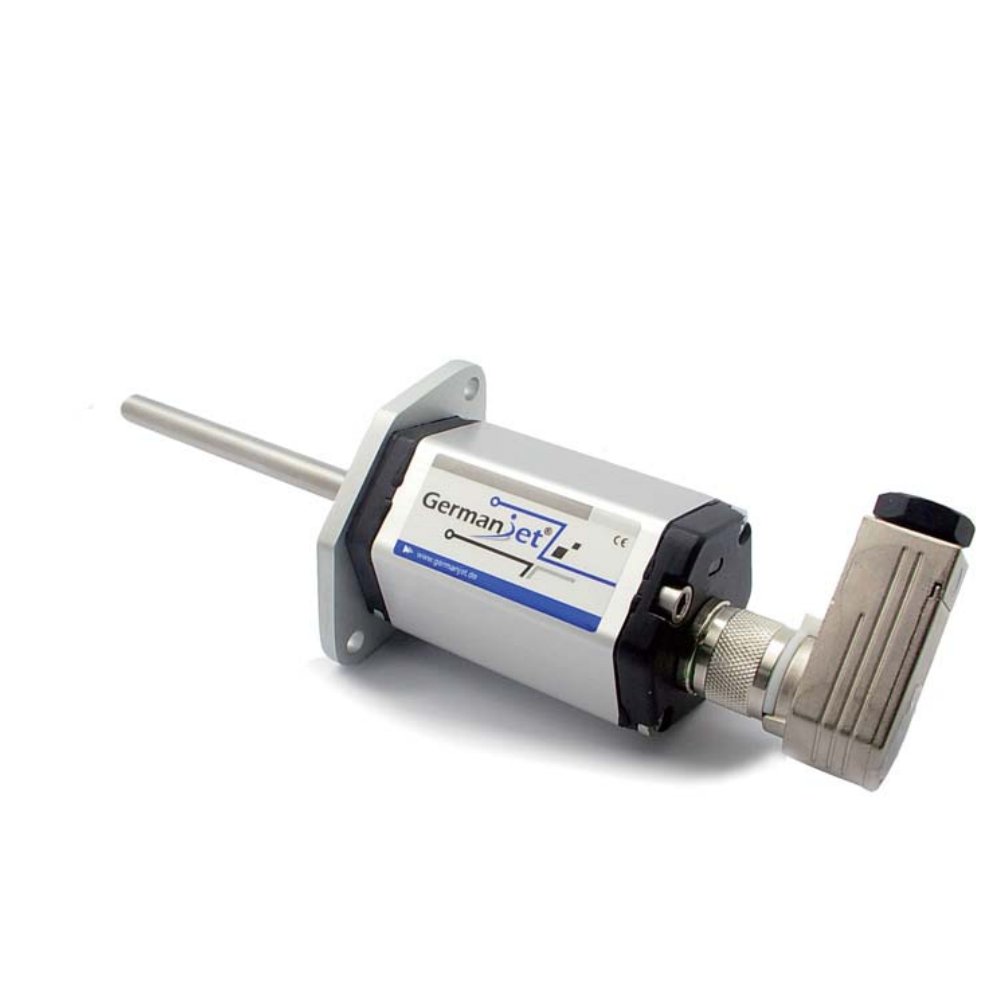
One table, every series. Stack stroke, output, IP and pressure—Series 16 at 350/530 bar on 18G7, Series 17 at 350/600 bar, each on its own row.
No signal? Grab a multimeter first. Five checks—20.4–28.8 V supply, output, head LEDs, insulation, install—pin the fault to supply, body or magnet.